
The car Bibles product reviews: Quixx Paint Scratch Remover.
Product Reviews
Quixx Paint Scratch Remover
Tested September 2010 
Website: www.quixx-usa.com
Facebook: QUIXXUSA
Twitter: Quixx_USA
I'd not intended to review this product - it was bought more out of curiosity than anything. Following an unfortunate incident with my wife's car and a Ford truck, we needed a replacement and the one we bought was mechanically sound but the bodywork was in pretty rough condition. The biggest problem was a series of scratches on the roof where someone had obviously put a box on the roof with some grit trapped under it, then pulled it off. The result was 10 or 15 long, deep, gouging scratches that went right through to the primer. None of them were very wide, but they were nasty-looking nonetheless. I tried Quixx on the recommendation of a friend and after working on the roof scratches, decided it would be good for a review. It's a German product so I'm sure it's been engineered to within an angström of its life....
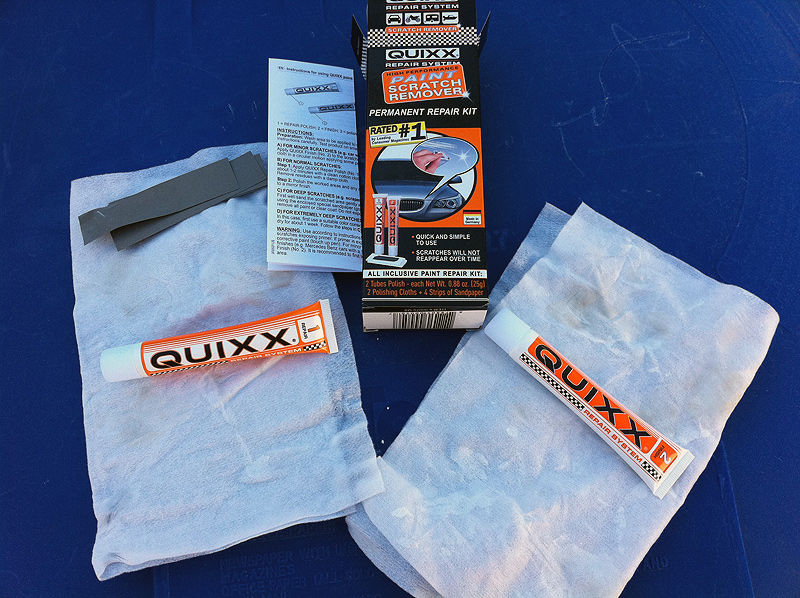
The Quixx kit is a three-part kit containing some 3000-grit wet and dry sandpaper, some rubbing compound and a clearcoat restorer (labelled simply product 1 and 2). The idea is simple - depending on the severity of the blemish, you work your way through the products in order. So for light clearcoat scratches - the sort you get from using a car wash, you just apply some of 'product 2' to one of the included cloths and rub it in with some force. For visible scratches, you use 'product 1' first, again with some force, before following up with the polish. For scratches that you can feel with your nail, things are a little different. I'll go into that in a moment.
Light scratches
Let me say that for cosmetic scratches and blemishes - little door dings, light key scratches and such, this stuff is simply amazing. Basically it's taking paint from the surrounding area as you polish, and depositing it in the scratches, but at a microscopic level. The end result is wonderful, even on metallic paint. Minor scratches are polished out to the point where you genuinely can't see them when you're done.
For slightly deeper scratches, the end result is equally as good but be aware that in the right light, you'll still be able to see them. How best to describe this? Well if you look straight at the area where the scratch was, it will simply not be visible. But if you get the light at the right angle, and look along the body panel instead, the light will catch the slight surface imperfections where the scratch was and you'll be able to tell there was something there at one point. Net result though is still a vast improvement.
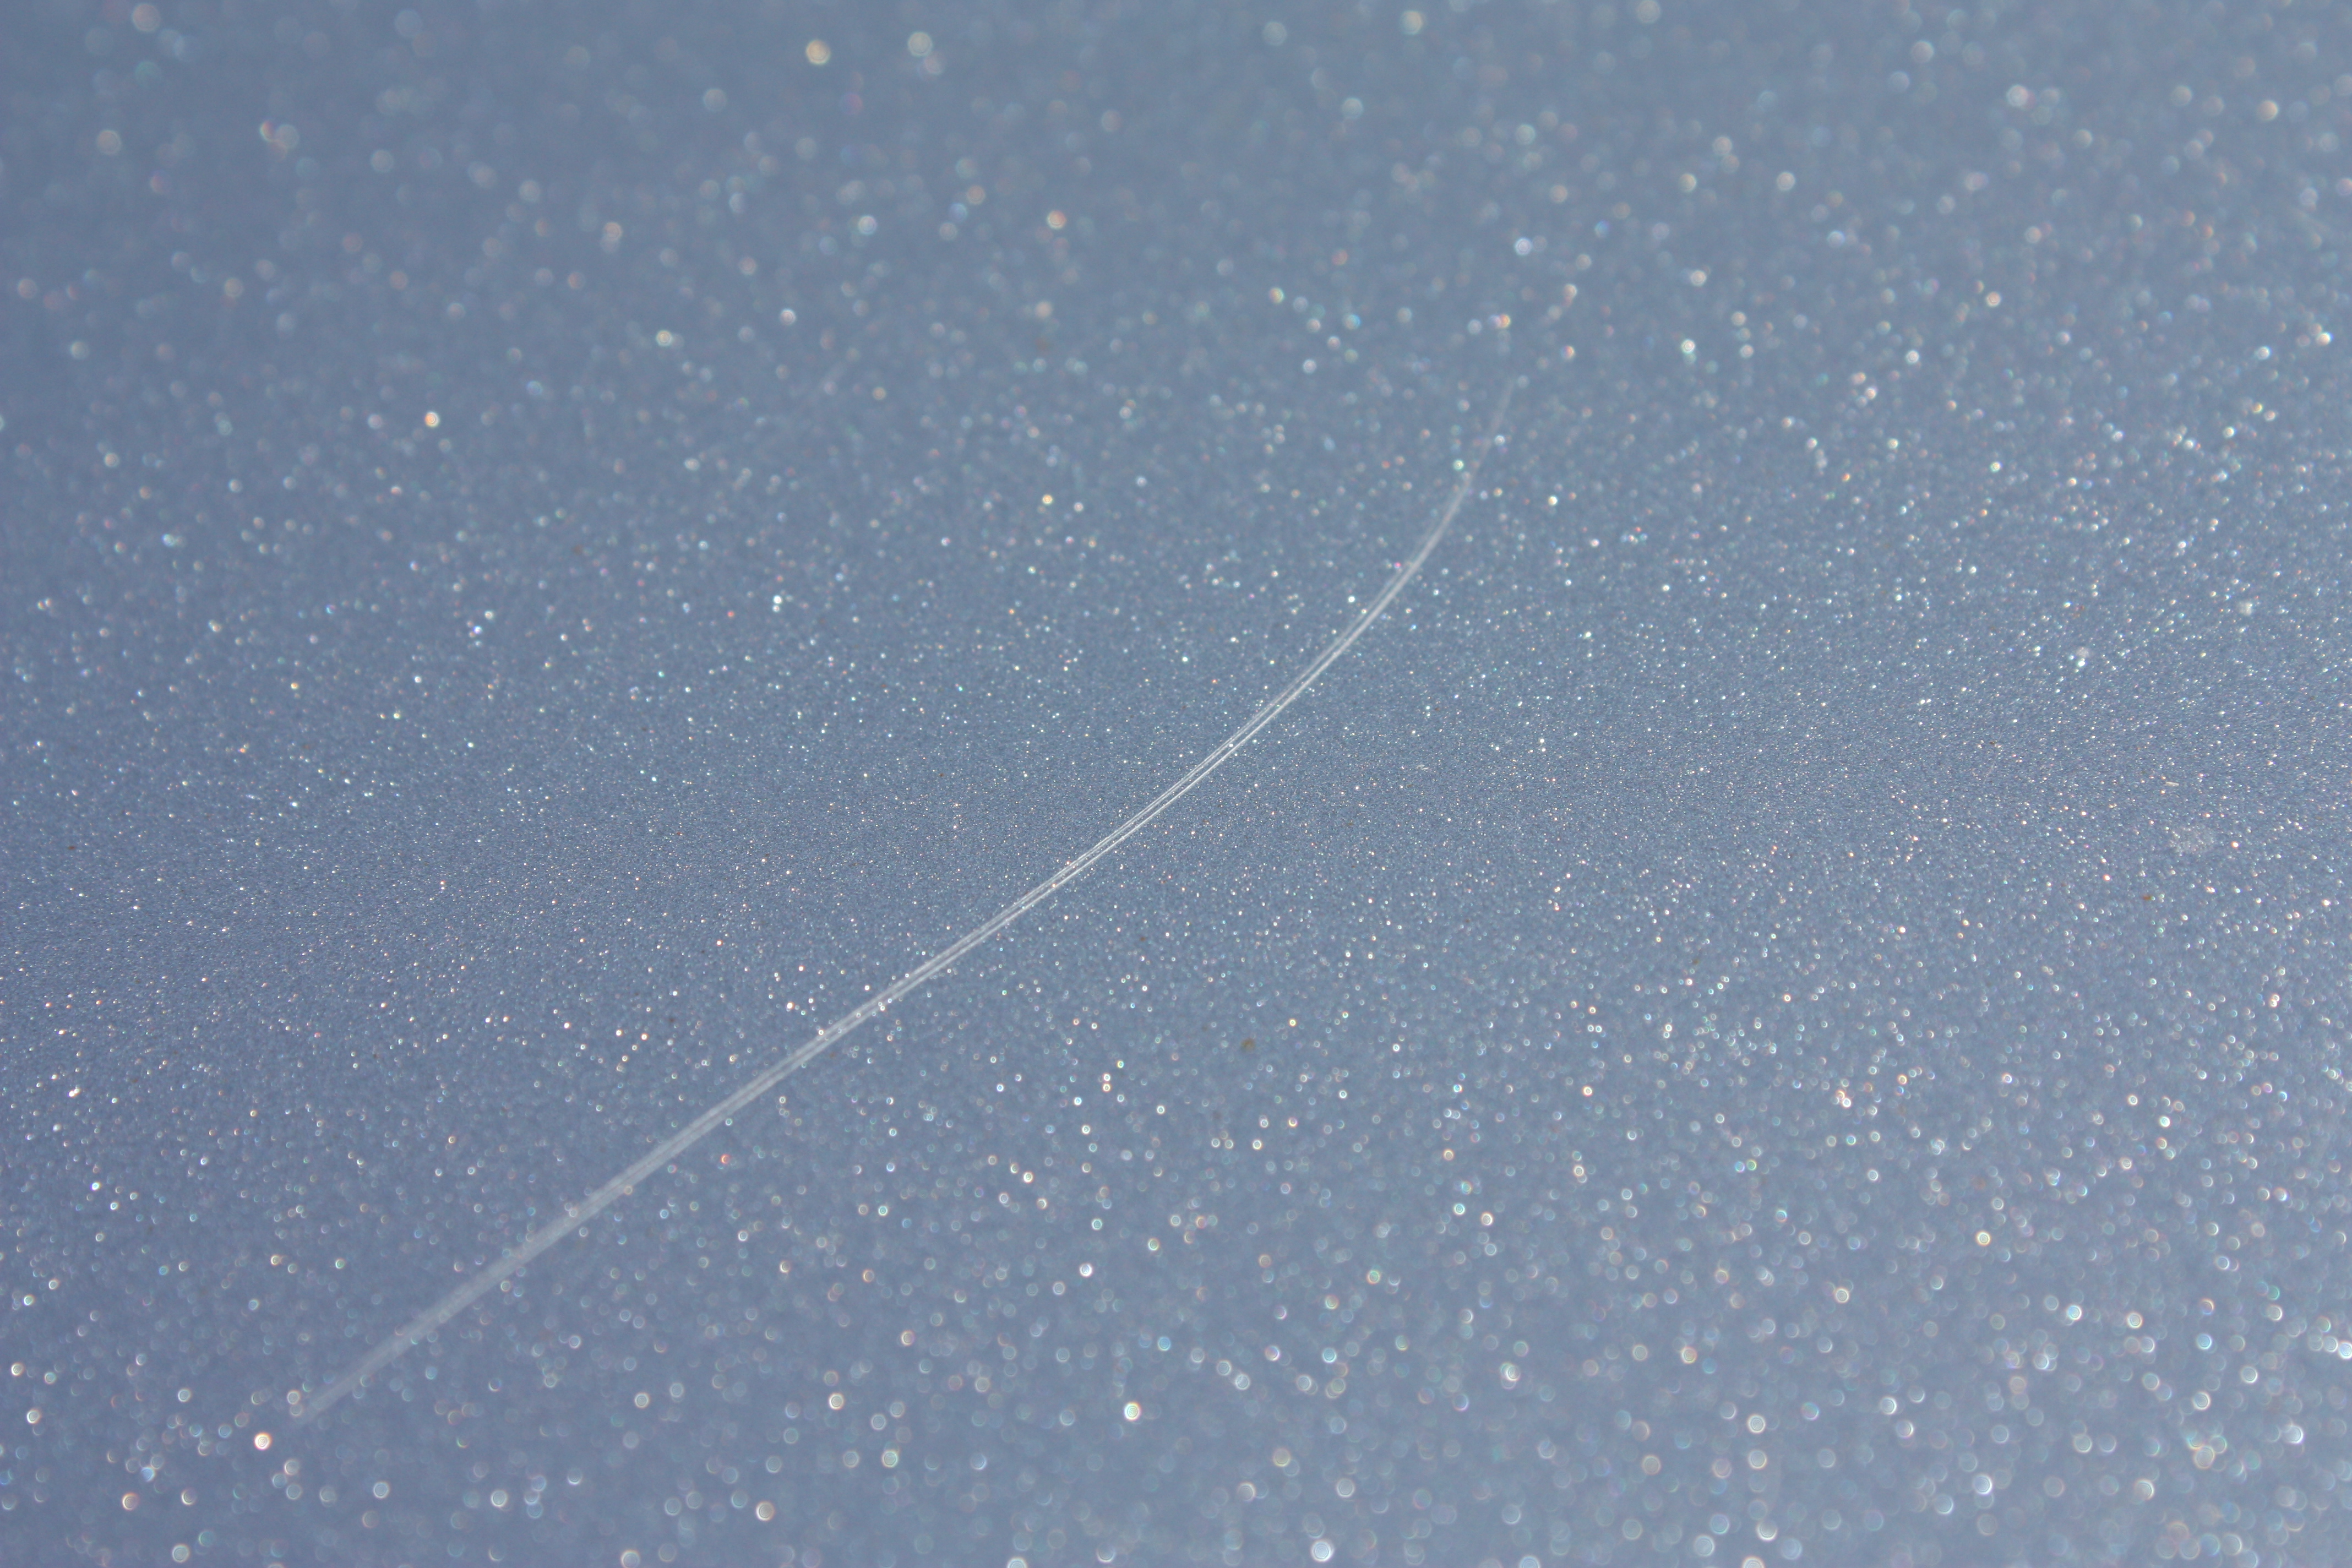
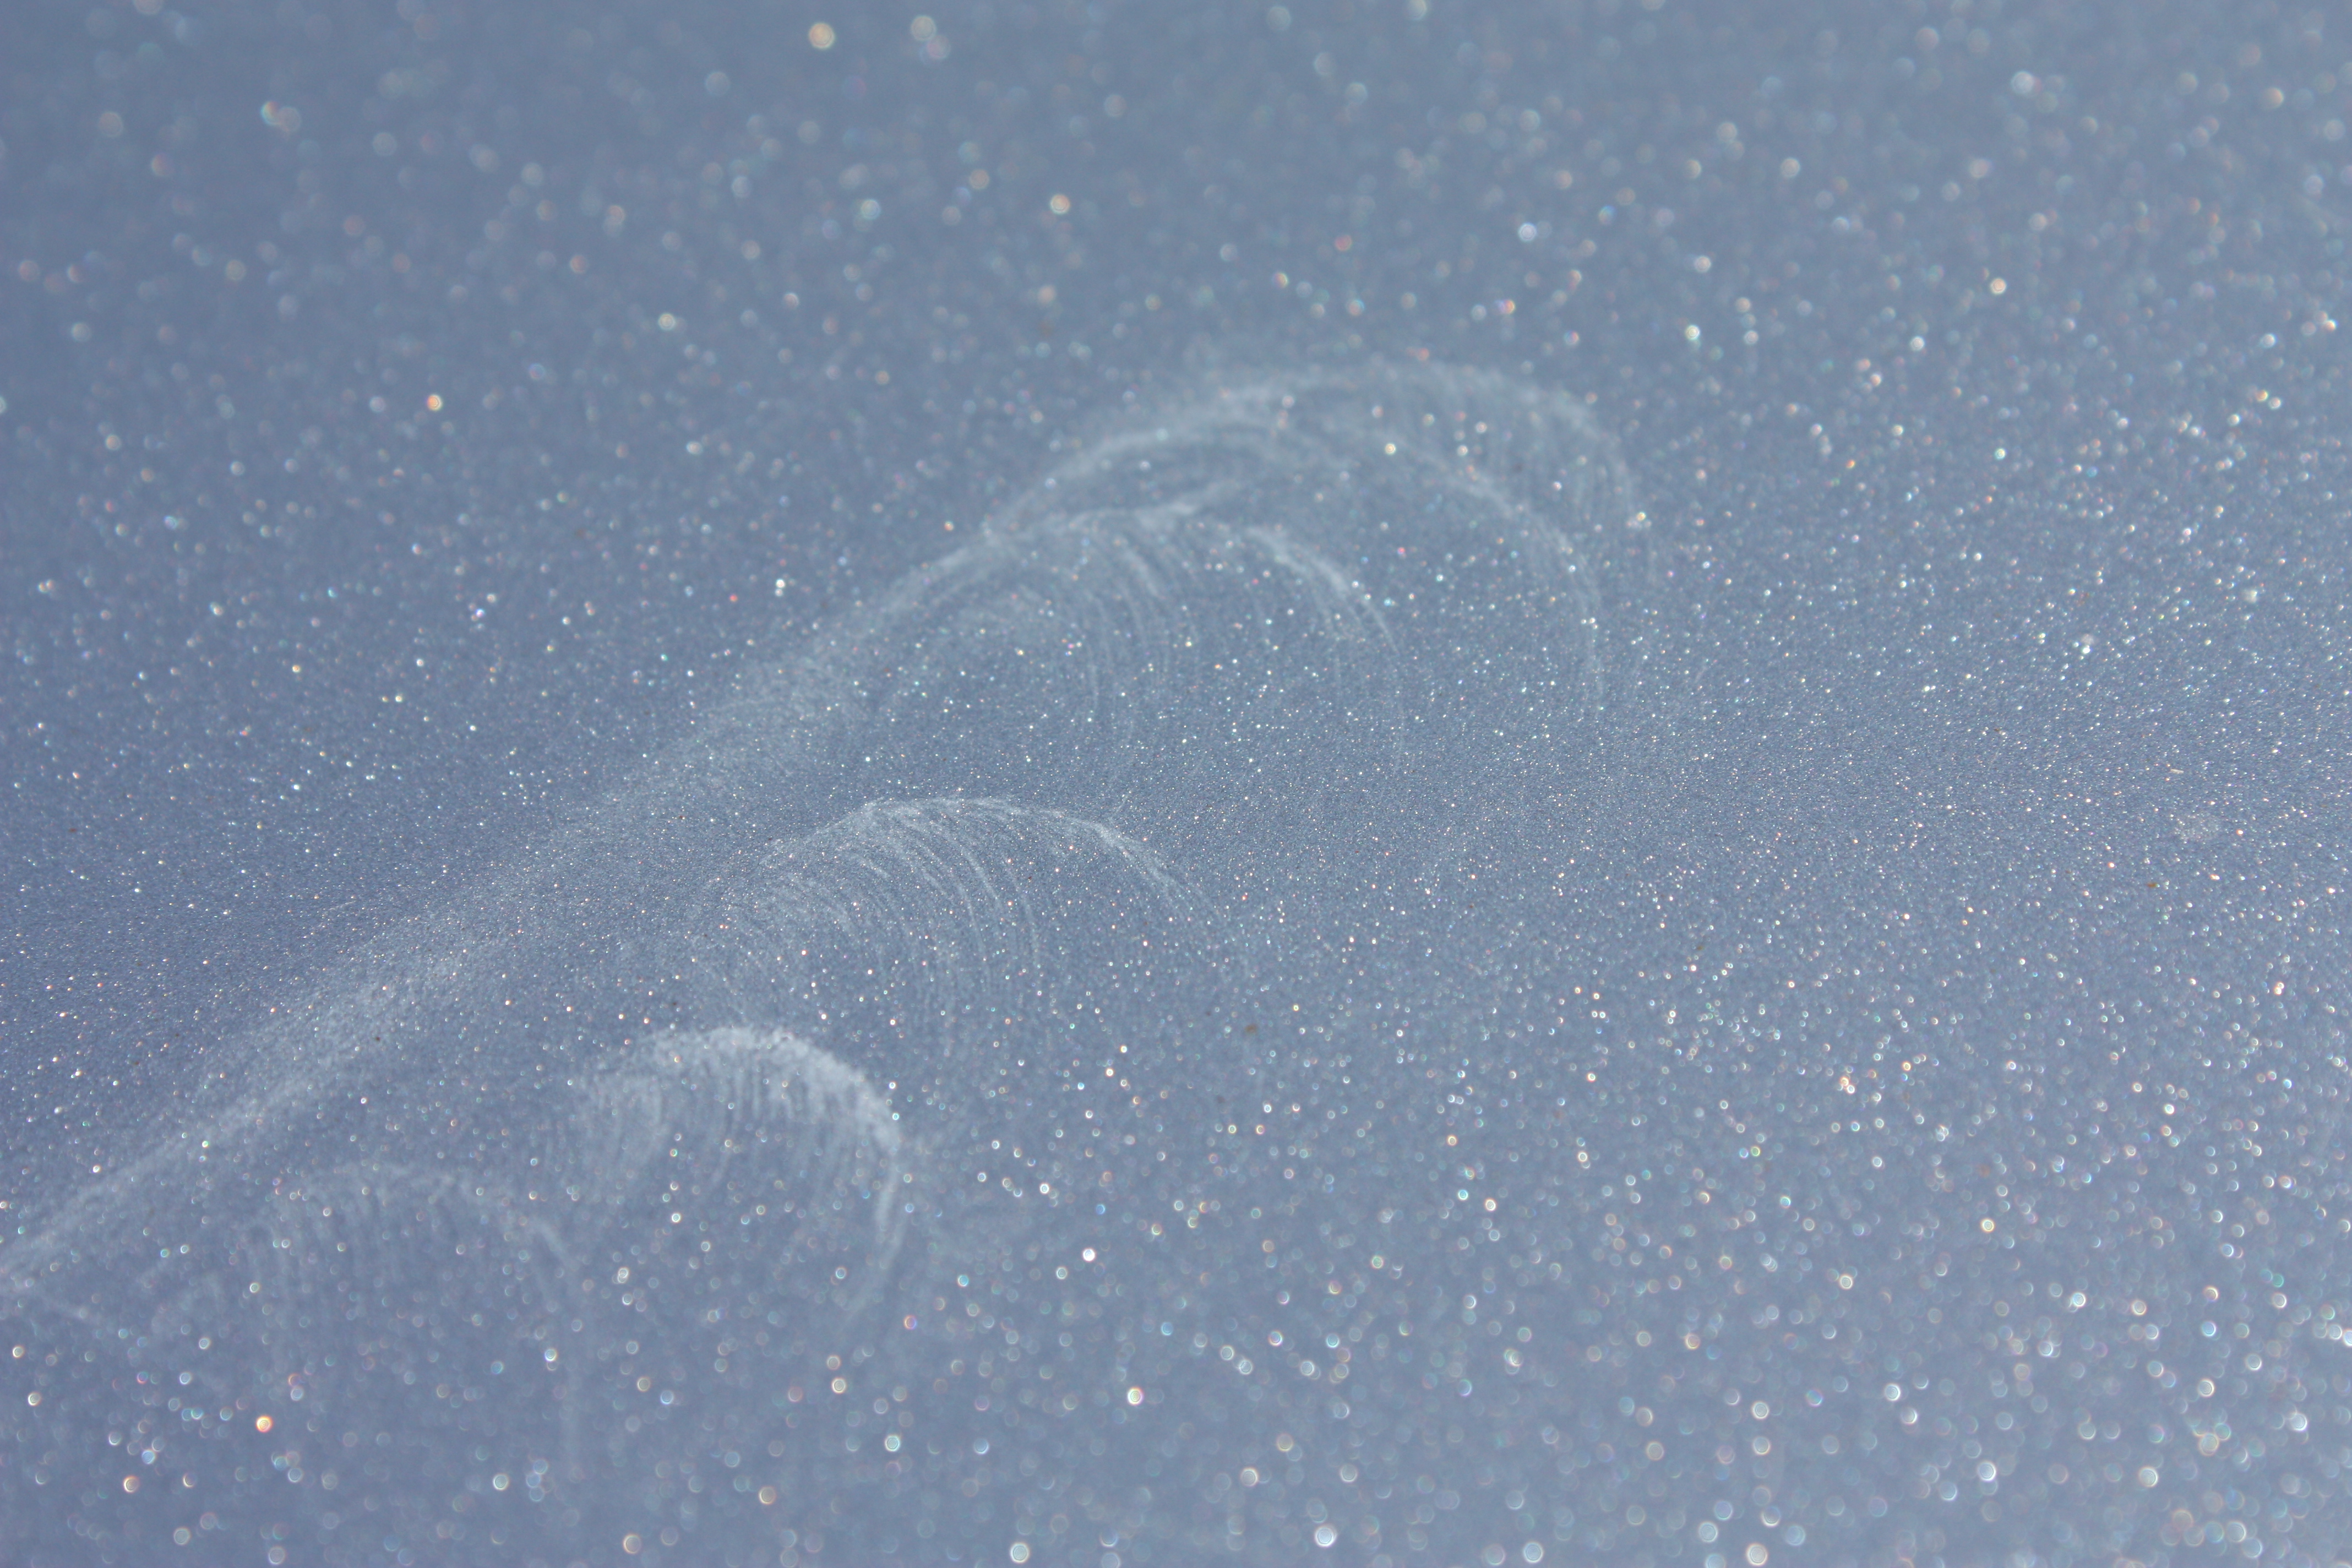
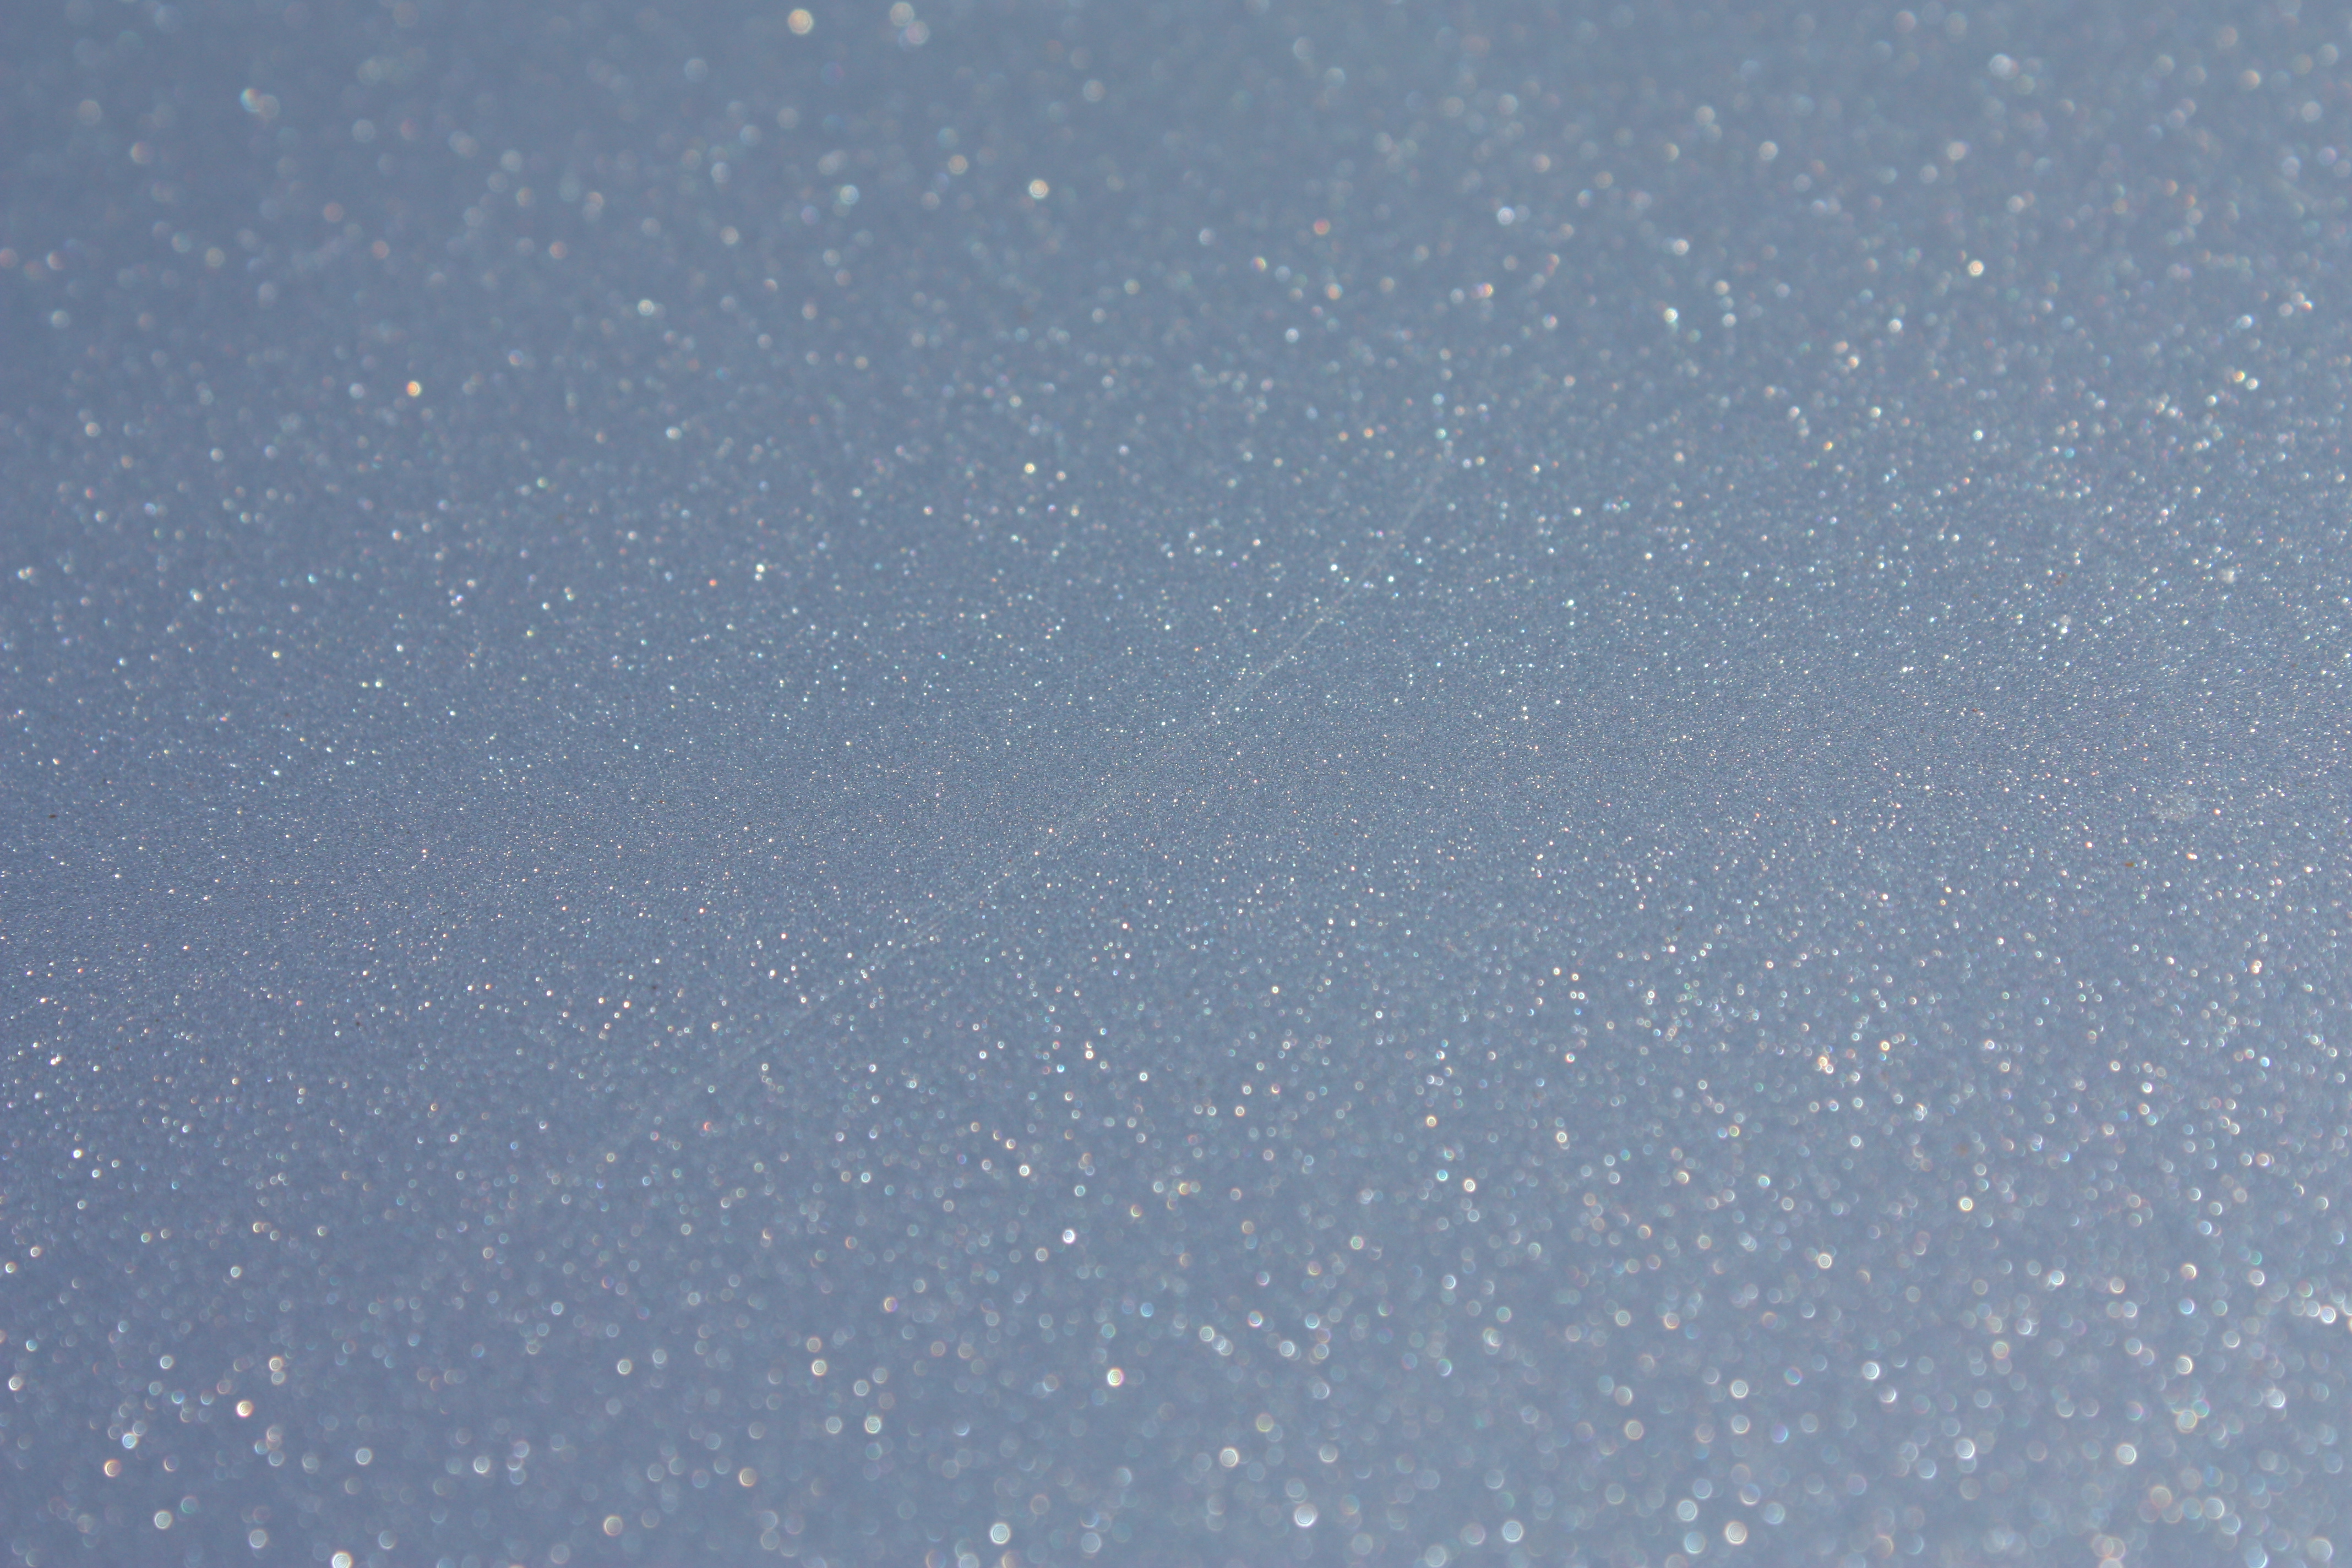
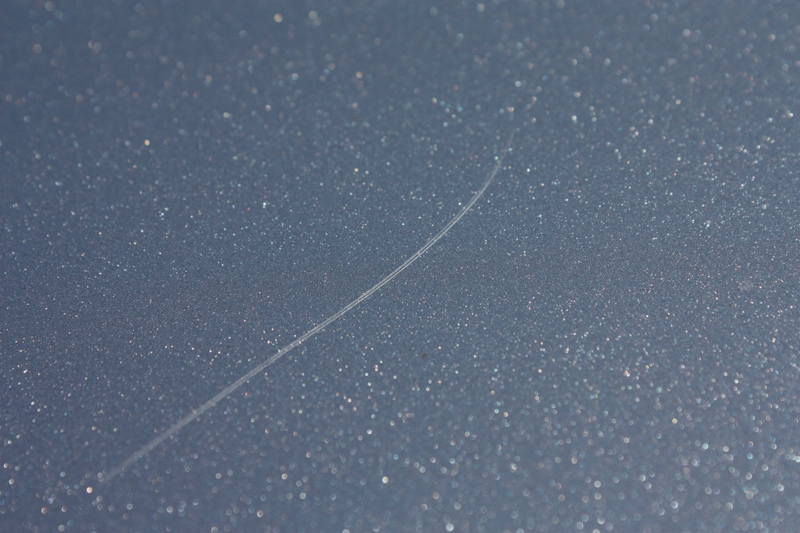
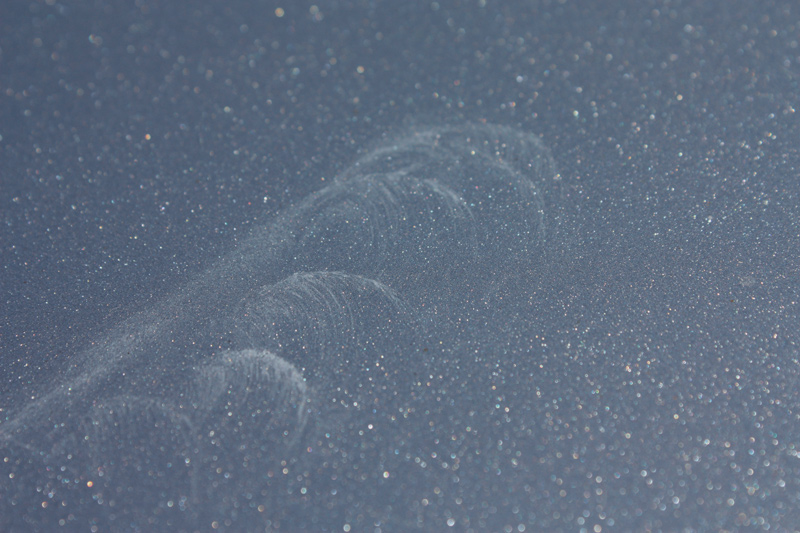
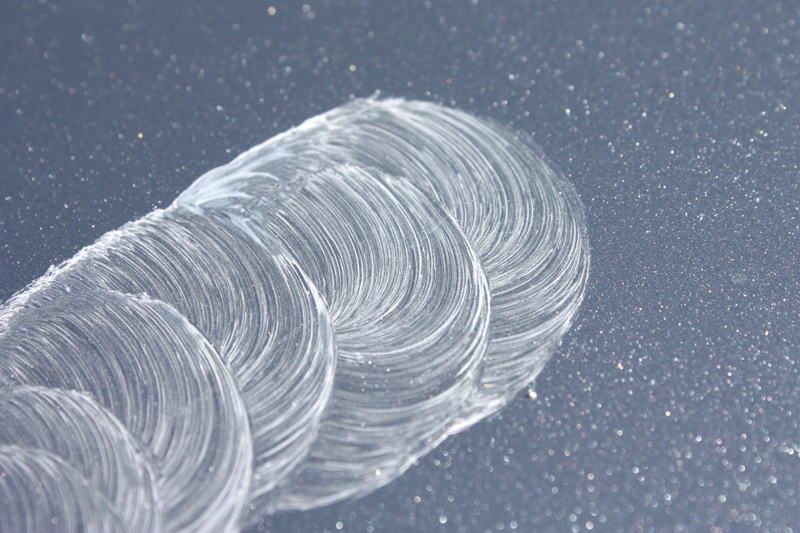
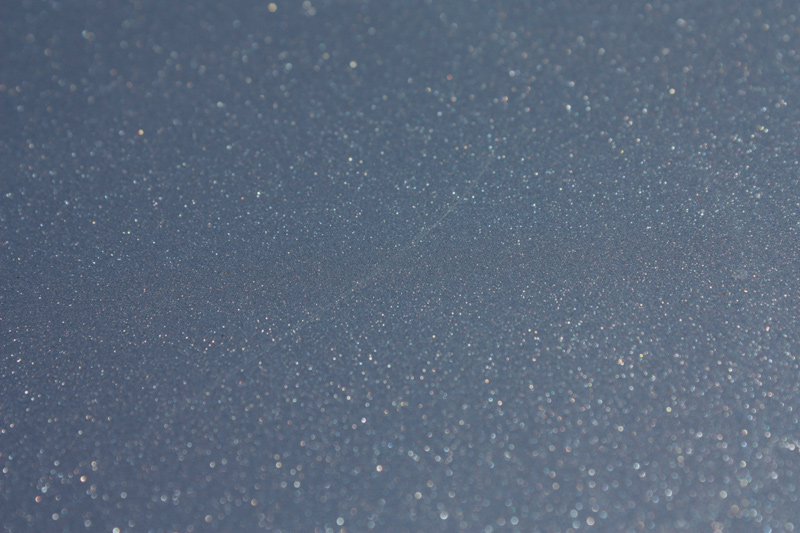
The four photos below show one of the lighter scratches in the roof as I worked on it with the Quixx product. My camera was up close, perched on a Gorillapod, with a very tight range of focus and I tried not to move it between each shot. I know the cynics will say it's just photoshop but trust me, this is how it looks for real. The first photo is the untouched scratch. The second shows the rubbing polish after it has been applied. In the third photo you can see the scratch has reappeared a little as the polish is applied, and in the last photo you can see the end result. If you look for it, and you know where to look and in which sort of light to look, you can still see the scratch. But would you rather it look like photo 1 or photo 4? Click on the images for higer res versions. If you're a total cynic and you want to see the unaltered JPGs straight from the camera to prove to yourself that there's been no photoshopping (other than some colour-balancing between the exposures), you can grab the originals here. Each on is 12 megapixels and about 4Mb in size: Pic1|Pic2|Pic3|Pic4
 |
 |
 |
 |
Deep scratches
So back to the grit-covered-box story. If you own a car, you've seen these scratches - they make your heart sink. There is only one way to deal with them (short of a body shop) and that is with time, patience and a good product. To deal with the ones I was working with, I cleaned the area and dried it off. I then got one of those factory-matched paint chip bottles. The important thing here is not to use the brush they come with, or even the 'pen' tip if it has one. Mix it well then dip a toothpick in it. Where the toothpick comes to a point, the paint will gather in a small drip. Drag that through the scratch and you'll end up with paint filling the scratch and not paint all over the car. It will form a 'seam' which is proud of the surrounding paintwork - that's fine. Leave it to dry for a week - remember I said this takes time and patience. Once the paint is hardened, get a razor blade and lightly go along the 'seam' of paint. The blade will shave the top off it leaving a scratch filled with paint that is now level with the paint surface around it. I've done this on bodywork repairs before and to this point its always been the same. The difference with the Quixx stuff is the end result after this preparation. I used their 3000-grit wet and dry sandpaper, thoroughly wetted, for about 5 seconds, just lightly going over the filled scratch. I then used their 'product 1' and rubbed it in with some force, and followed up with the 'product 2' again with some force. The end result was essentially the same as photo 4 above - the scratches are still there in certain light at certain angles, but I'll be damned if you can see them at all from further away than a metre or more.
Conclusion
The key to any light paint repair is time and patience and the right product. I've tried all sorts of stuff over the years and Quixx is the first one I've come across where the scratches don't reappear when the product is dried and polished. A very full and positive five stars for this product.