The car care Bible, covering washing, waxing, detailing, cleaning and caring for your car and much more.
The Car Care & Cleaning Bible
Love it, care for it, stroke it gently
If you treat your car as a method of getting from A to B, then you can stop reading this page right now and carry on with the rest of the site. This page is dedicated to the car owner who cares for their vehicle, who on occasion wants to clean it and make it look nice again. The sort of person who might well consider dedicated vehicle storage to keep their pride and joy out of the elements. This page came about because frankly I got fed up with the volume of emails asking for it. So I present my basic guide to cleaning your car and caring for it. Enjoy.
The lazy way out
It's worth point out right up front that if you want the sort of decent job doing on your car that I go into on this page, but can't be bothered to do it yourself, there are plenty of professional car cleaning centres or detailers that will do the job for you. Expect to pay $150 or £100 upwards and to be without your car for a couple of hours. Alternatively, if you're the type who always just throws their car through a car wash, you can use an online carwash finder to see which one is closest to you. The whole point of this article though is that you do it yourself...
Pre-school cleaning basics
Take off your bling
I know your Spice Girls anniversary ring is special, but take it off then you won't accidentally scratch your paintwork to buggery.
Get a clay bar
You know how car detailers somehow manage to get your paintwork gleaming like new when the best you can manage is some swirls and dried-on watermarks? It's because they use clay bars. Get a decent quality one and use it a couple of times a year. How? See the section on cleaning it later on.
Use two buckets instead of one
One for clean water, one for rinsing all the crap out of your sponge or wash mitt. Simple. The bright ones amongst you will also have noticed the distinct lack of the phrase "power washer" there. That's because....
Kärcher be damned!
I know you don't believe me, but pressure washers or lances really don't get your car that clean. They shift the surface dirt but they will also peel off stickers and make mincemeat out of damaged paint. Trust me. Or not - see for yourself. Jetwash your car then get a clean, white, lint-free cloth. Dampen it and wipe it across the door. Be horrified at the result and lets move on.
Don't use household cleaners or dish soap on your paintwork
Fairy Liquid does a great job of cleaning your dishes and it smells lemony fresh too. It'll also do wonders at stripping the wax and polish off your car and then eating away at the clearcoat. Houshold cleaners can either be very acidic or very alkaline, and that's A Bad Thing for your car's paintwork. Get a proper PH-neutral car shampoo.
Get rid of the big stuff using specialist products
It doesn't matter how much you wash, the hard stuff like road tar needs a specialist product, especially if you're looking for how to remove tree sap from a car.
Bring microfibre cloths - lots of them
Simple enough really. They do the job and wash up well afterwards.
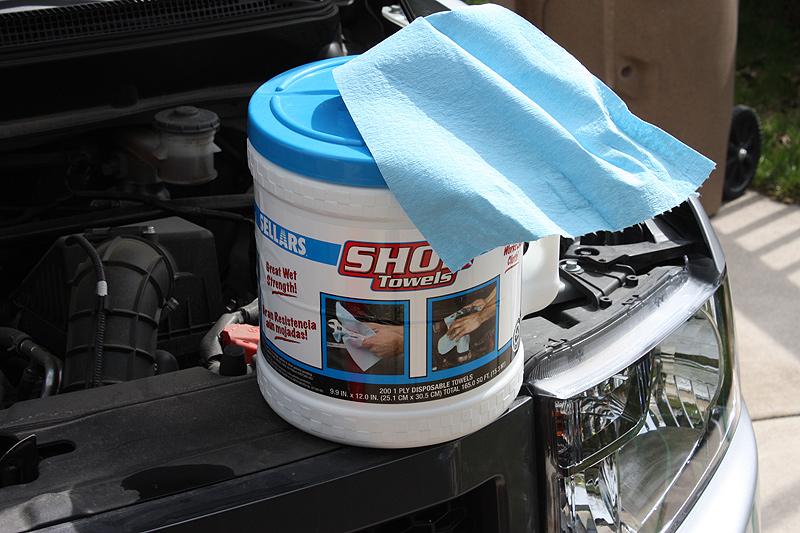
For that matter, bring shop towels - lots of them too
Get a big drum with a couple of hundred shop towels in it. They're plentiful, cheap and disposable. They're also typically made from recycled material and are themselves biodegradable. Which is useful to know when fending off the tree-huggers.
Get rid of your chamois
Old school and they never really worked anyway, the chamois should be consigned to history. And don't even think about getting one of those ShamWow things - they're even worse. Get a soft silicon water blade for swishing the water off your bodywork and you'll never look back.
Don't skimp on the wax or polish
If you're really going to invest a saturday afternoon in cleaning your car, don't insult it with the 3.99 manager special from the local parts store.
Silicon cleaners are quite sticky
I know Back-To-Black looks like it does a good job on outside of your car, but try not to use it if you detail your engine. When it dries, it's sticky and your engine will get dirty much quicker if all the shiny bits are covered in silicon cleaner residue.
If you live in a hard water area, don't clean your car on a 40°C day
Trust me - the soap and water will dry out and cover your car in calcium streaks quicker than you'll ever be able to rinse it off. If you must do it, buy a popup portable awning and do it in the shade. You'll at least have some chance. Frankly I'd wait for a cloudy but dry day myself.
Keeping up appearances
The cleaning it section that follows assumes you really want a clean car once in a while. Not a jetwash clean or a carwash clean, but a properly decent, showroom-fresh clean. So if you decide to do it, make sure you keep on top of the situation. There's no point in spending this sort of time doing your car if you're going to let it get all cacked up and not bother to at least hose it down once in a while. So without further ado, lock the wife inside with a good book, chain up the dog and lets get to it.
Cleaning it
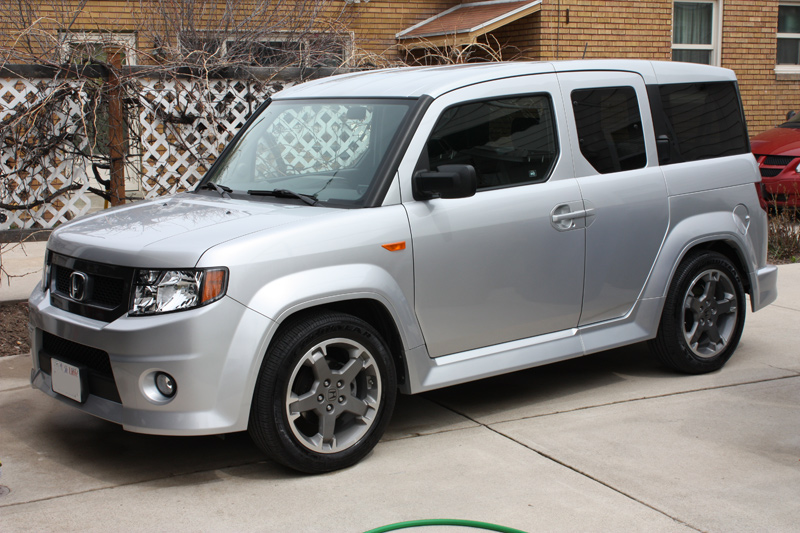
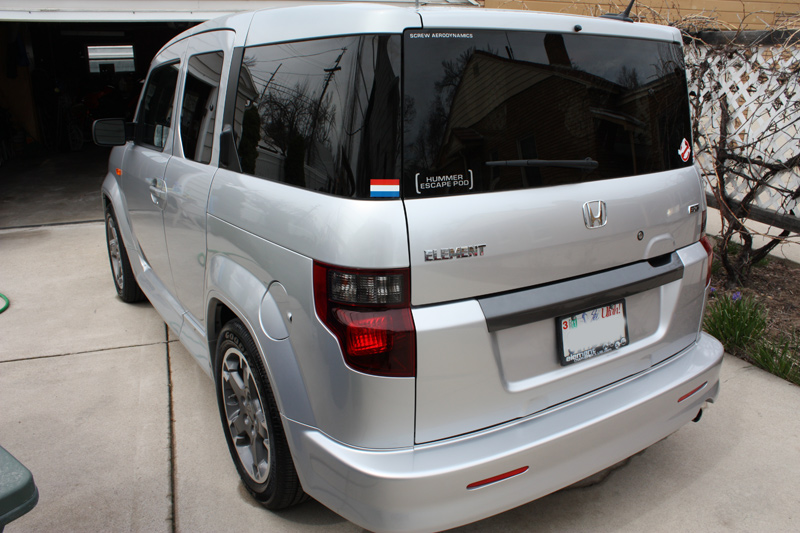
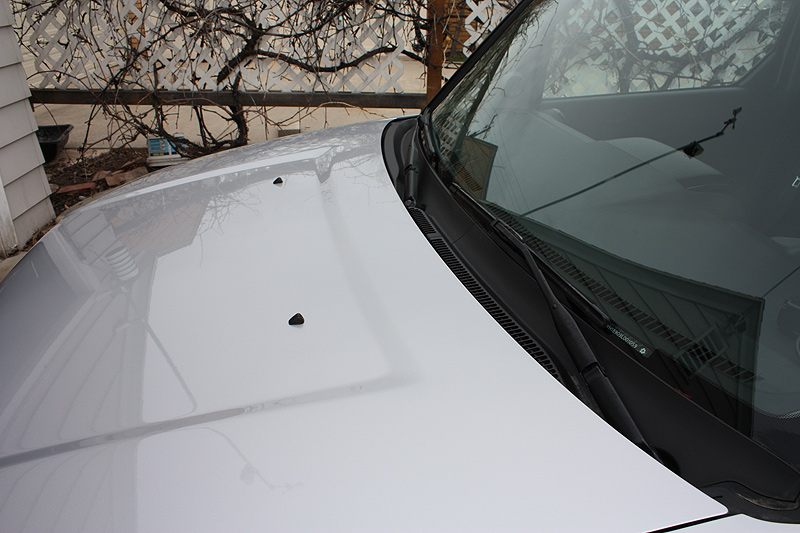
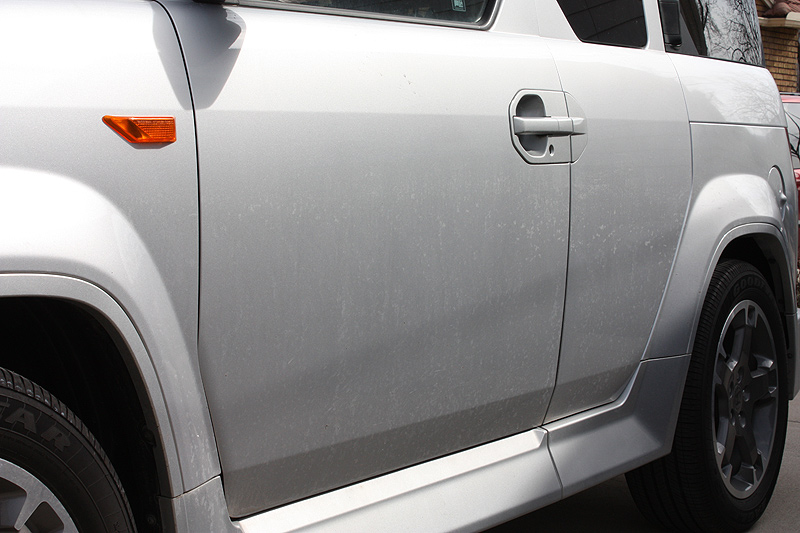
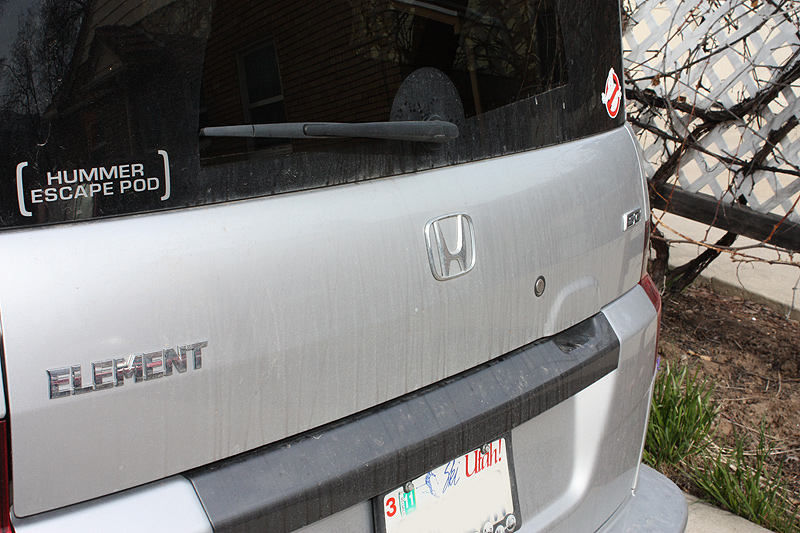
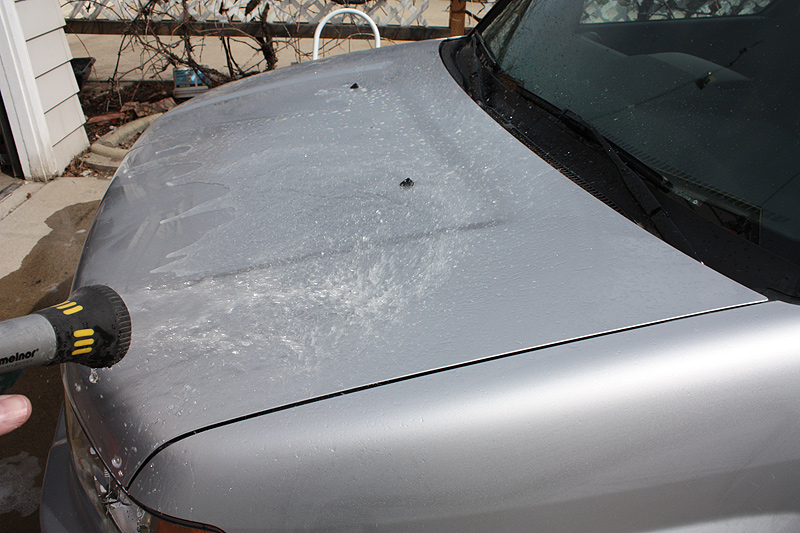
First, some 'before' pictures. This is my daily driver and what you see here is the end result of 4 months of winter driving without ever seeing a bucket or hose. OK it's not that bad, mostly because a lot of the crud didn't stick because I cleaned it properly in the autumn. And silver isn't the easiest colour to photograph dirt on, but it's a what we have so lets just work with it.

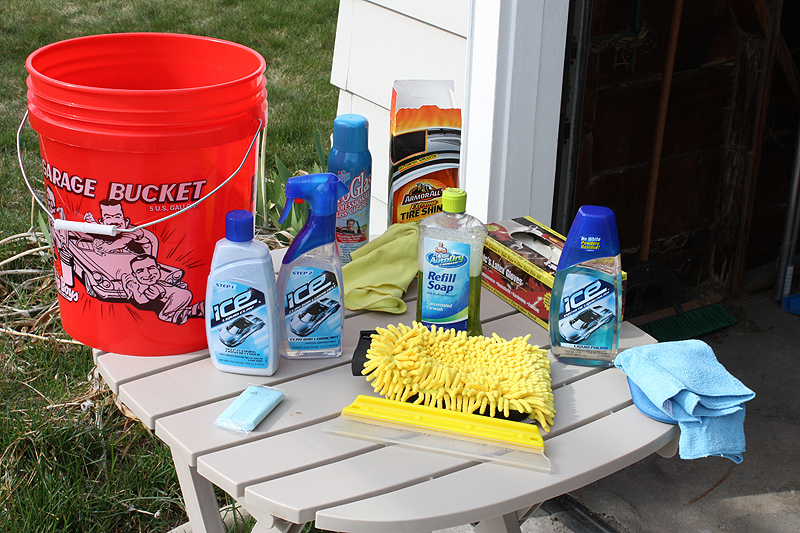
Start off by getting all your junk together. If you have a blanket, collapsible table or old duffel bag you can use, its a good idea. That way you're not wandering aimlessly about looking for stuff half way through your quality time with your car. In the last photo above, you can see one of the two buckets, some microfibre cloths, the clay bar and lubricant, car shampoo, paint conditioner, tyre shine, latex gloves, a wash mitt, a water blade and some glass cleaner. There's a giant tub of shop towels but that shows up later.
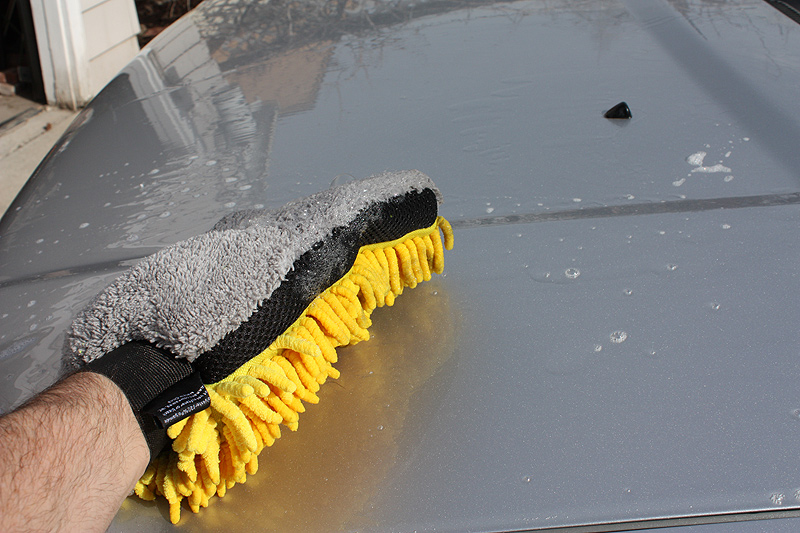
Fill both buckets with hot water. Squirt some car shampoo into one of them as its filling up so you get a soapy mixture. Use a wash mitt to do the first stage of cleaning. These things are great - they have microfibre 'fingers' on one side and a textured surface on the other. The 'fingers' are great for getting into all the nooks and crannies and the textured side helps scrub off stubborn grime. They hold a lot of water too and I typically put another squirt of car shampoo on to the mitt before doing each section of the car.
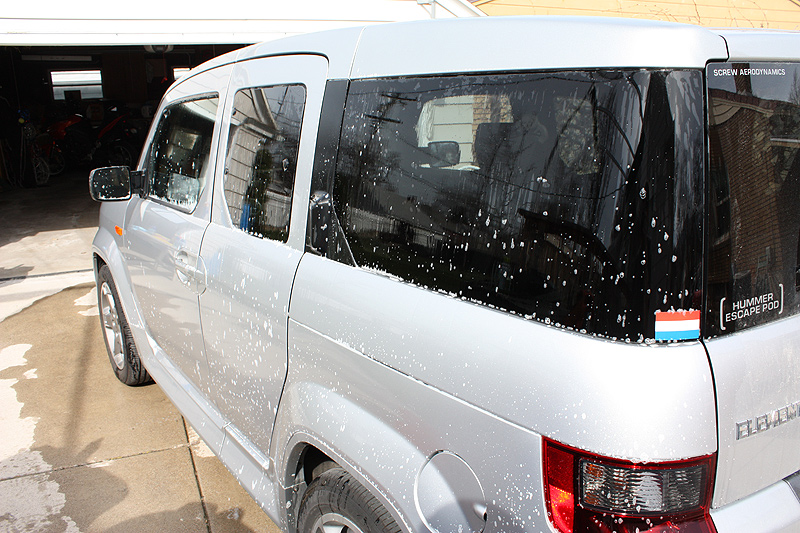
Start from the top and work down, doing one section at a time - roof, then hood and boot, then sides. Once each bit has been soaped up, dunk the wash mitt in the clean bucket to rinse it out, and then use it to wipe down the suds with clean water. Because a wash mitt holds a lot of water, it's easy to rinse a car using one.
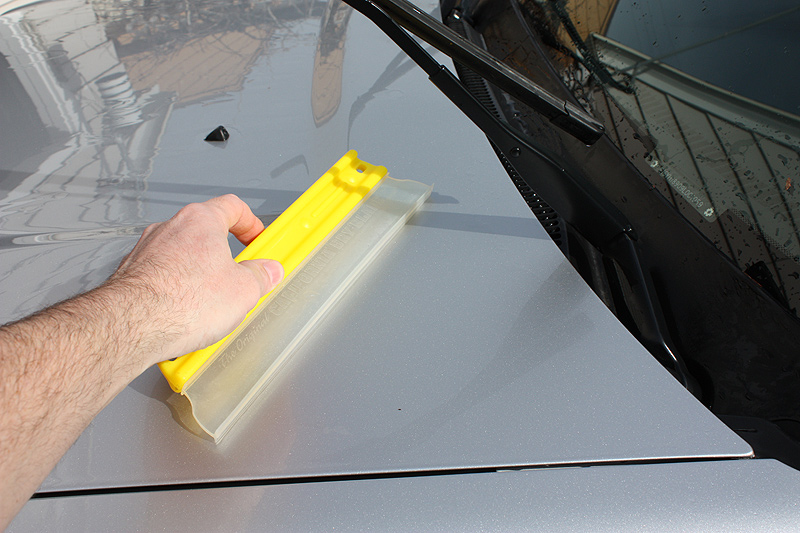
Once you've rinsed the bit you're working on, use a water blade to whip the water away. These come in many flavours but all of them have the same basic feature - a super supple silicone blade that is shaped like an inverted 'T' on the bottom. Hold the blade at a slight angle and wipe it across the bodywork and it will squeegee the water away leaving a dry surface with no streaks or water marks. Death to the chamois.
Paint conditioner isn't strictly necessary but if you want to do a thorough job it's a worthwhile extra step. Essentially it's an ultra-mild cutting compound combined with a detergent that helps to remove light paint scratches and swirls, as well as dissolving caked-on bugs and road tar. Most of these products work the same way - apply them with a clean microfibre cloth in a light circular motion, let them dry to a matt finish, then hose the product off with cold water and this time wipe the car down with another microfibre cloth. This is probably the only time you'll actually use a hose during the whole cleaning process, so make the most of it. Don't use the blade to wipe the water off at this point - it will leave conditioner residue. It doesn't really matter but the streaky mess that remains will make you look at the car and wonder what the hell you've done.
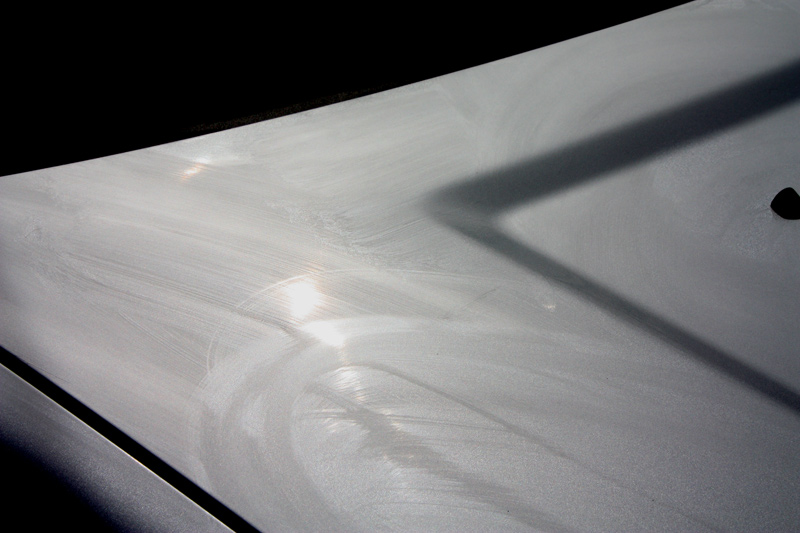
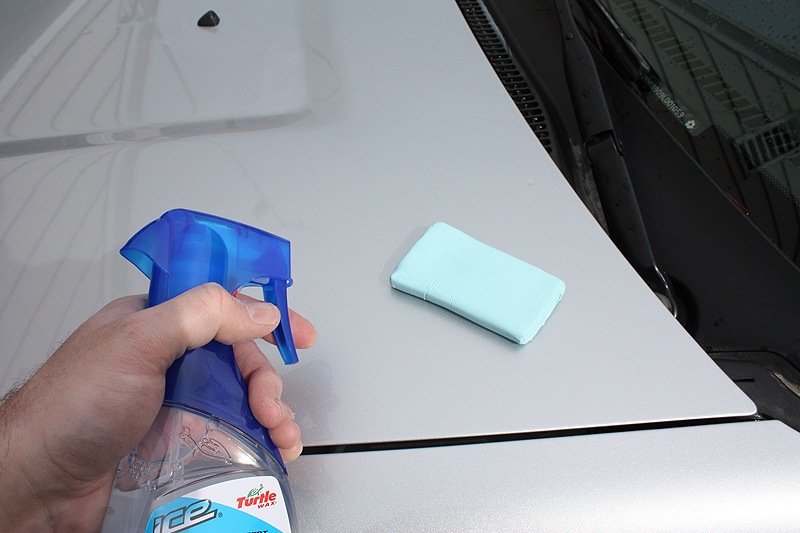
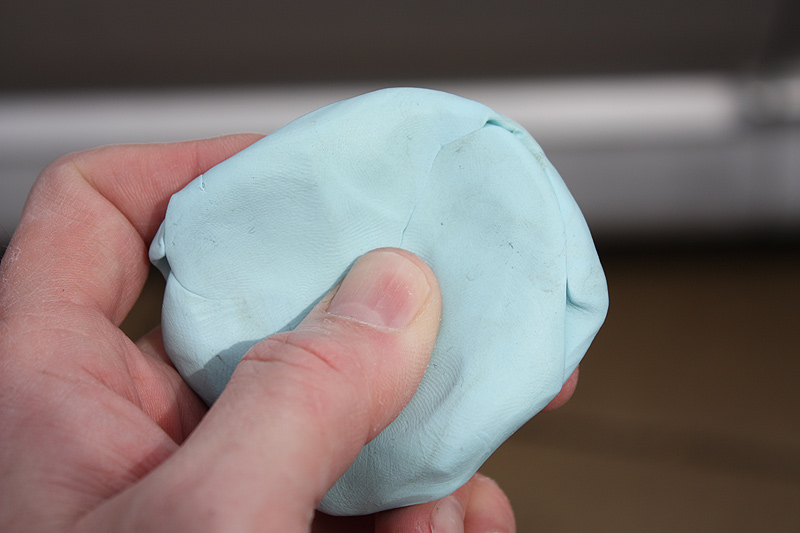
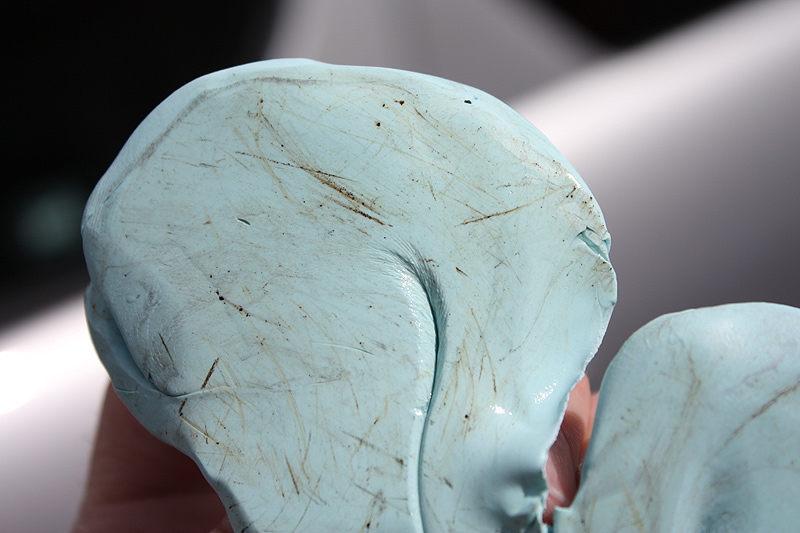
So far you'll probably be fairly familiar with everything I've done. The next bit might be new to you though. Using a clay bar kit on your paintwork will make the difference between a good cleaning job and a great cleaning job. The 'clay' is a putty compound (a lot like plasticene or silly putty). Used in conjunction with a lubricant, it will get stuff off your car that you didn't even know was there. To use it, work in small sections, with the clay bar in one hand and the lubricant spray in the other. Wipe the clar bar across the paintwork in lines - not in a circular motion - and you'll feel it bind and drag. That means it's picking up stuff off your paintwork that you can't see. Eventually it will glide effortlessly across the surface and you can move on to the next section. After each bit that you do, knead and roll the clay bar to keep it supple and to present a clean surface to the paintwork. The third picture below shows the crud that a clay bar picked up off one door of my car during this process. The amazing thing is that before you use the bar, you'll swear blind that the car is clean.
Very important note about clay bars: If you drop it, throw it away and go get a new one. The putty is so sticky that it will pick up grit and dirt from the ground the instant it makes contact. If you keep using it after its been on the ground, you'll then be scratching your paintwork to buggery.
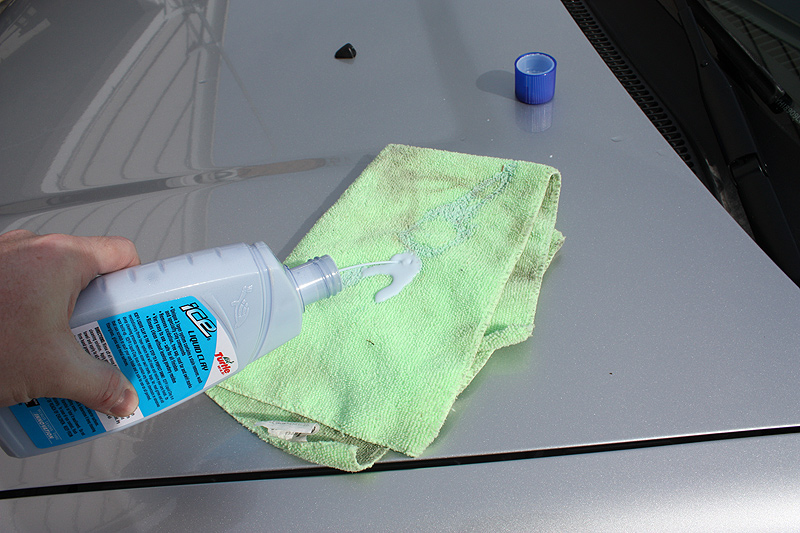
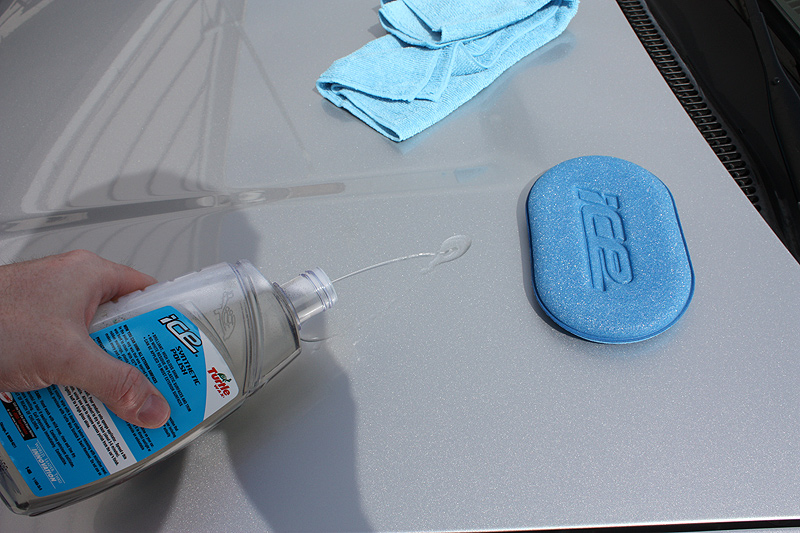
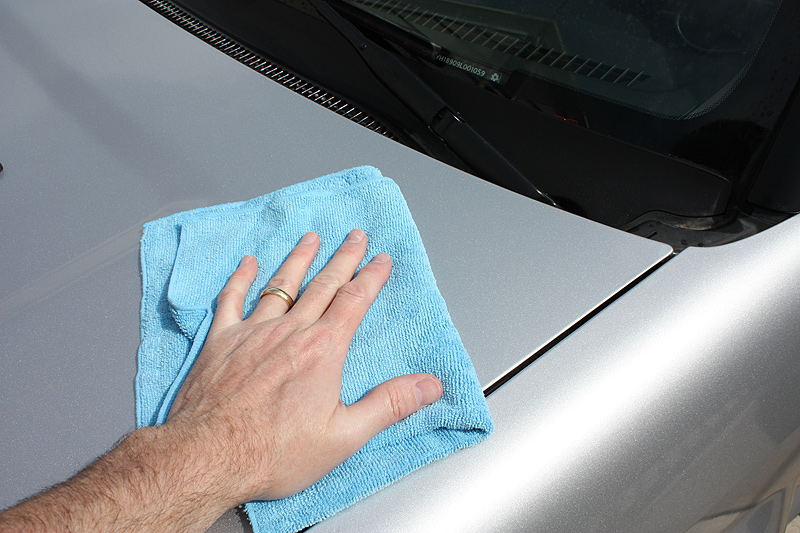
Finally, on to the home straight for the bodywork. Wax or polish. I prefer polish - a lot of detailers prefer a good wax. Both will do the same job but polish is generally easier to use if you live in a warm climate because it's easier to buff to a shine. This is the simplest part of the whole process - squirt the polish on, use a clean applicator to apply it, let it dry for 4 or 5 minutes, then buff it off using yet another clean microfibre cloth. Depending on the product you use, it can probably be used for external plastics as well which will help bring those black plastic parts up to a nice shine.
Windows
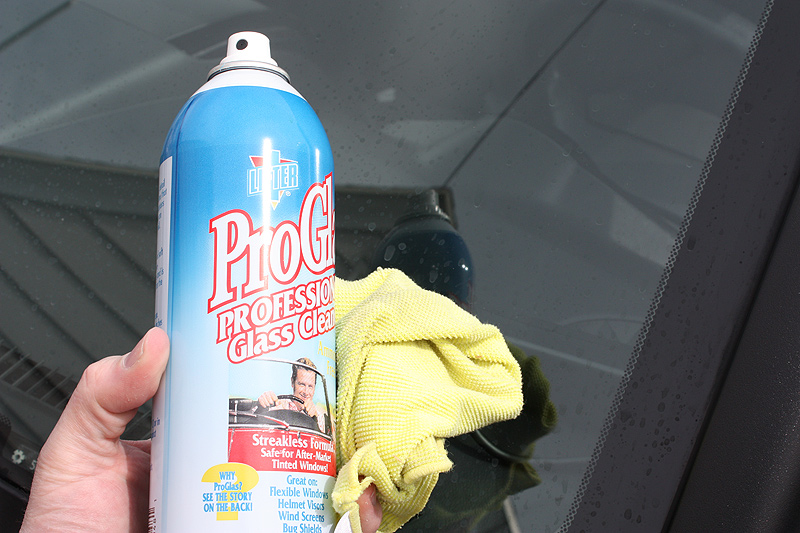
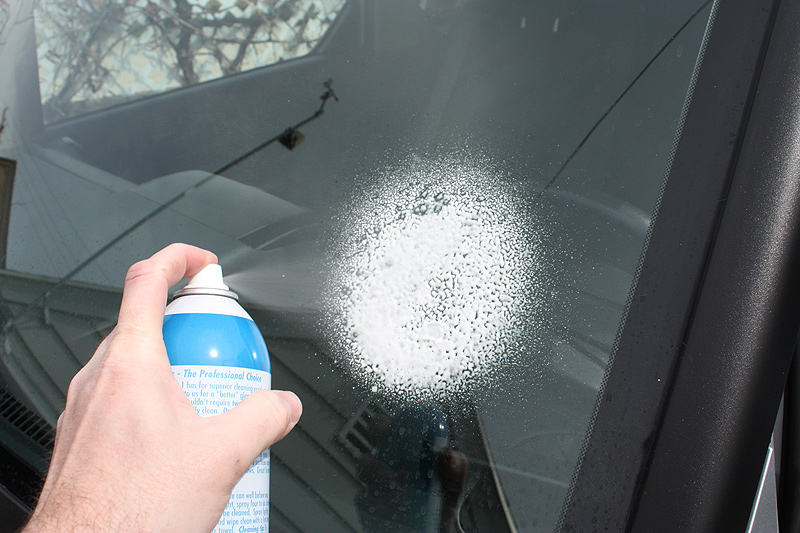
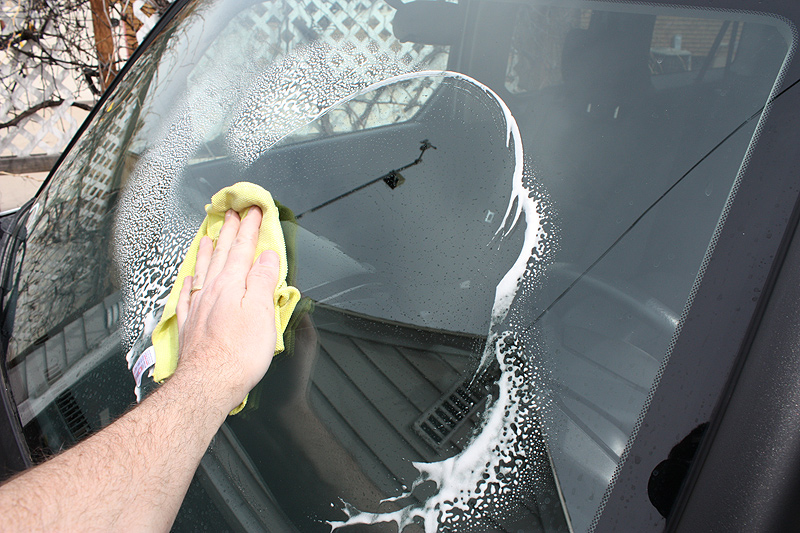
Years of cleaning car windows has taught me one thing - don't use the trigger-spray clear type window cleaners. They dry too quickly and no matter that the packaging and marketing tell you, they will streak and it takes an age to get the streaks off. I've been using foaming type cleaners for a while now and I find they're a much better solution. They're simple to use - shake the can, spray the windows so that the product foams up nicely, then use a microfibre cloth to buff the windows to a shine. I'll give a plug to one particular product here because of all the foaming cleaners I've tried, this one does seem to work better than most. Lifter1 ProGlass has done an excellent job for me every time I've used it and it works well both inside and outside.
Engine bay
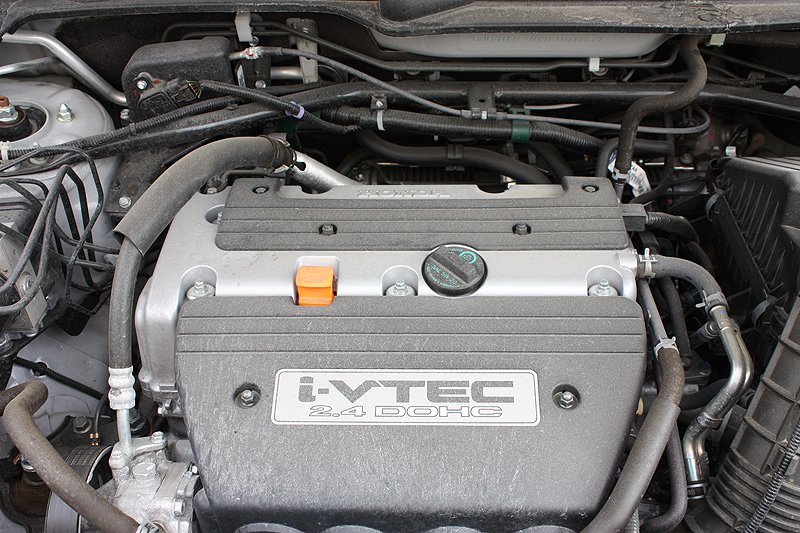
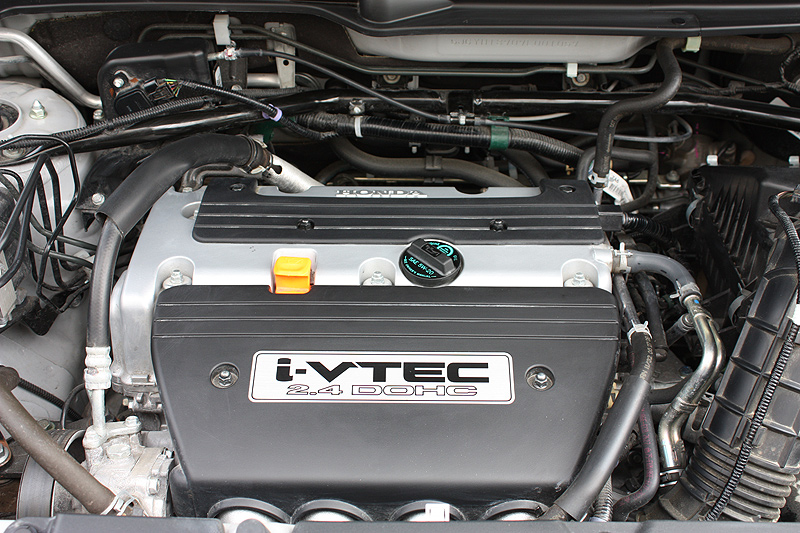
 Ever looked in your engine bay? Do you care what it looks like? For 80% of motorists, the answer will be no. For the petrolheads amongst us, the answer is yes. Cleaning an engine makes no sense at all - it's inside the car and never visible - why clean it? Vanity, mostly. But it does serve one useful purpose - it gets your head under the hood looking at the engine. You could spot leaks or worn belts, or any manner of other nasties that might otherwise go unnoticed. But mostly vanity.
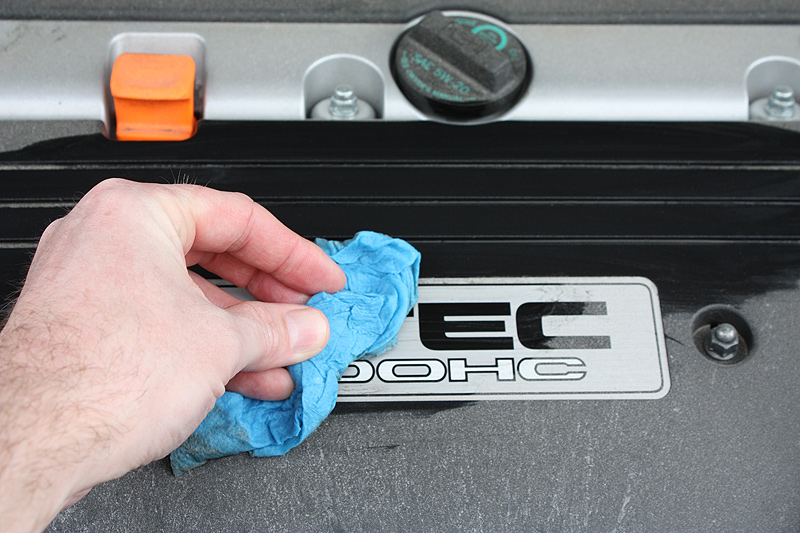
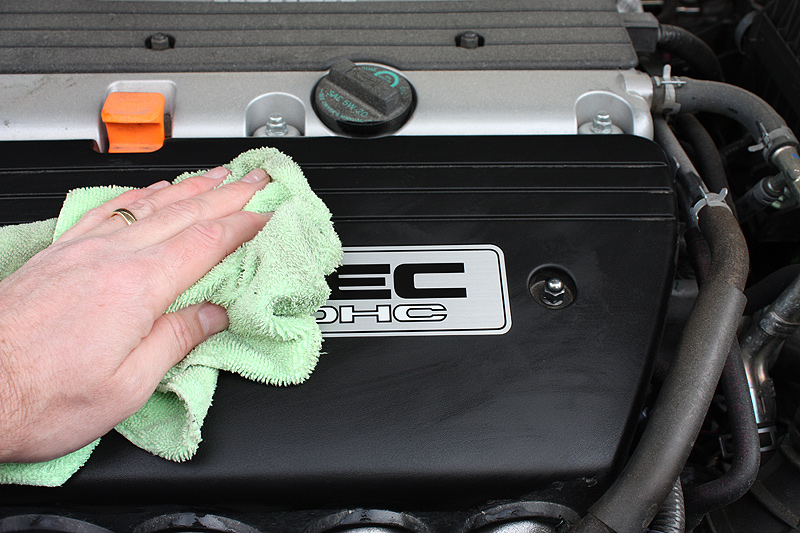
For basic engine cleaning you need nothing more than shop towels, microfibre cloths and distilled or filtered water. It's best not to use tap water directly - any calcium in it will dry on to the engine parts super quick as soon as it gets hot and baked-on calcium deposits are a bitch to get rid of. Cleaning is simplicity itself. Use wet shop towels to get the majority of the crud off the engine parts, and dry them off with a microfibre cloth. You might need a degreaser for some parts but water will do most of the work. In the series of photos below you can see I did most of the engine bay including the scuttle panel (between the engine and windscreen) as well as various lines and hoses. It only took about 10 minutes to make that sort of a difference.
If you're looking for car-show clean, then you'll need a dedicated guide to that. Simply using water and ending up with a "good enough" finish won't do - you'll need to start removing stuff to clean it but that's way beyond what I'm trying to show you here.
Wheels
Cleaning your car wheels is another vanity thing but if you're going for a properly clean ride, you can't miss out on doing them. If you don't let the dirt and brake dust bake on - ie. if you at least sponge your wheels down once a month, keeping them clean is simplicity itself. Wet shop towels and a dry cloth. Use the shop towels with tap water to clean the majority of the crud off the wheels, then use a damp towel to wipe them down. You really don't need anything more than that.
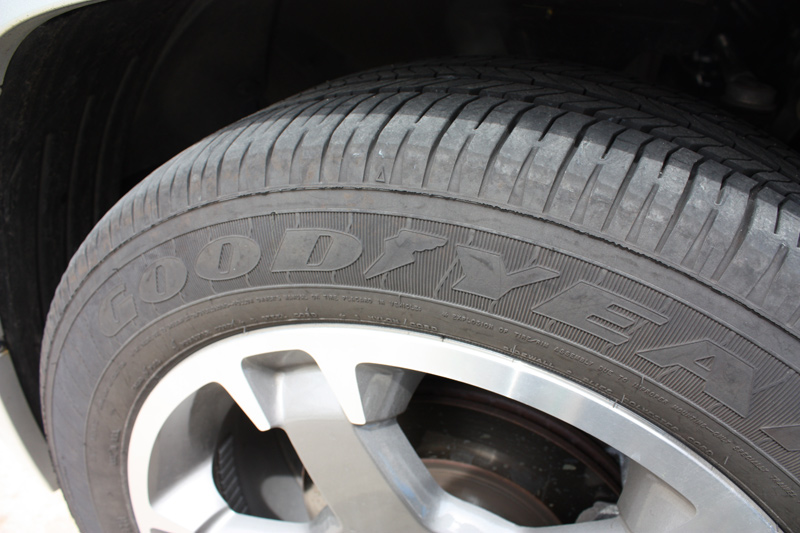
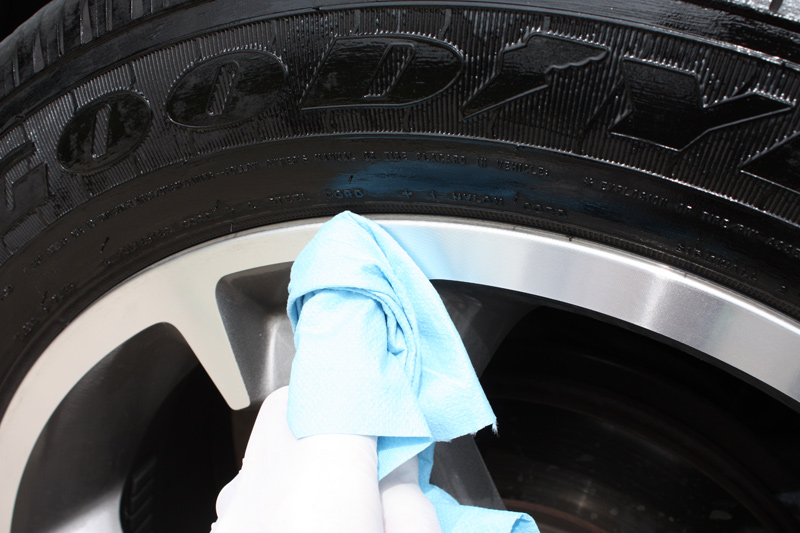
Tyres
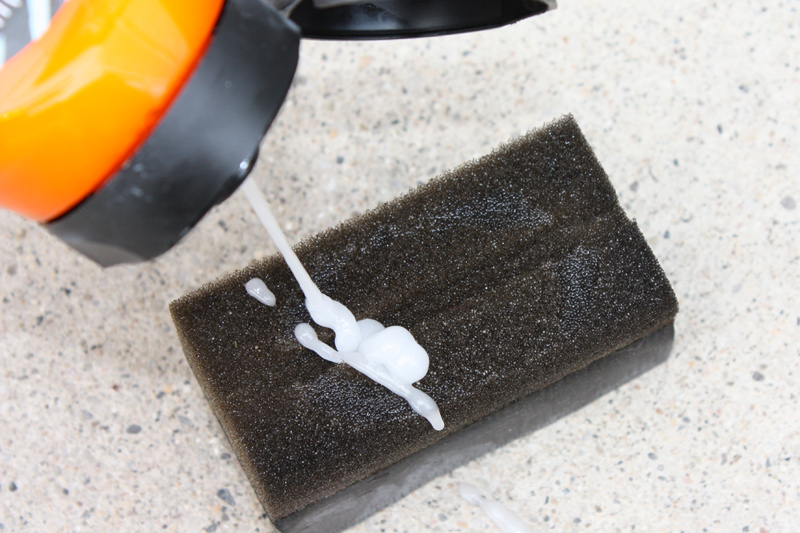
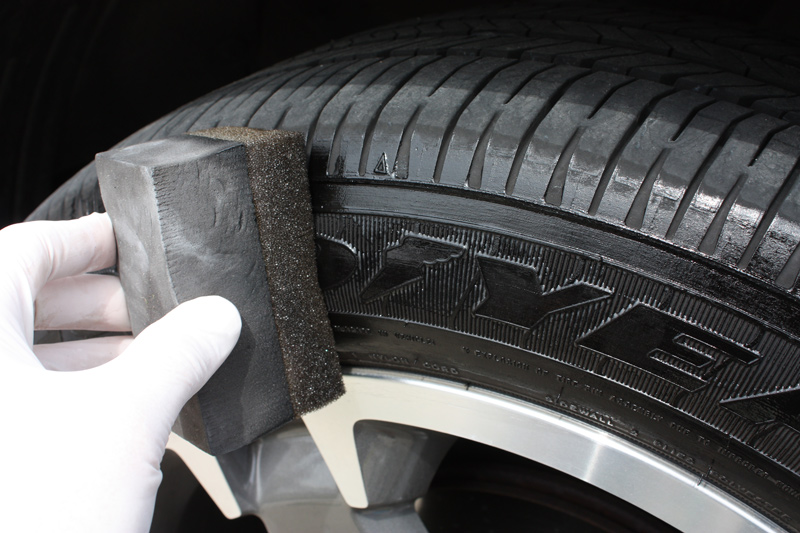
Ever cleaned your tyres? Probably not. Once again though - if you want that showroom-condition car, you have to do the tyres. The easiest way to get this job done is using tyre dress-up or tyre shine products. They're easy to use and the results are always pleasing. The gel-type products are the best ones because you don't have to concern yourself with overspray. I always wear latex gloves to do this because the gel product itself is a pain to get off your hands. Squirt some of the gel into the applicator sponge (most kits will come with one) and then gently work it around the outside edge of the tyre. Do not put this stuff on your tread - it's a grease-based compound and the last thing you need is greasy tyre treads. Use a shop towel to wipe off any excess that gets on to the wheel rim and the job is done. 5 minutes per wheel.
Inside plastics
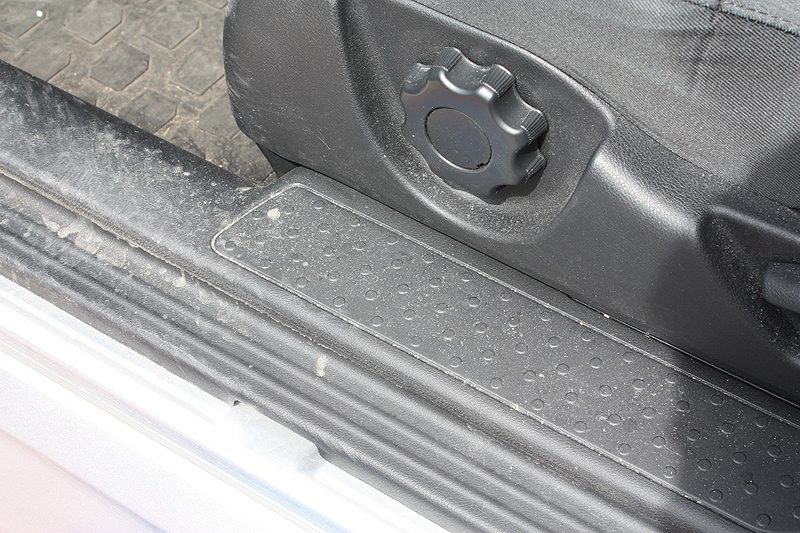
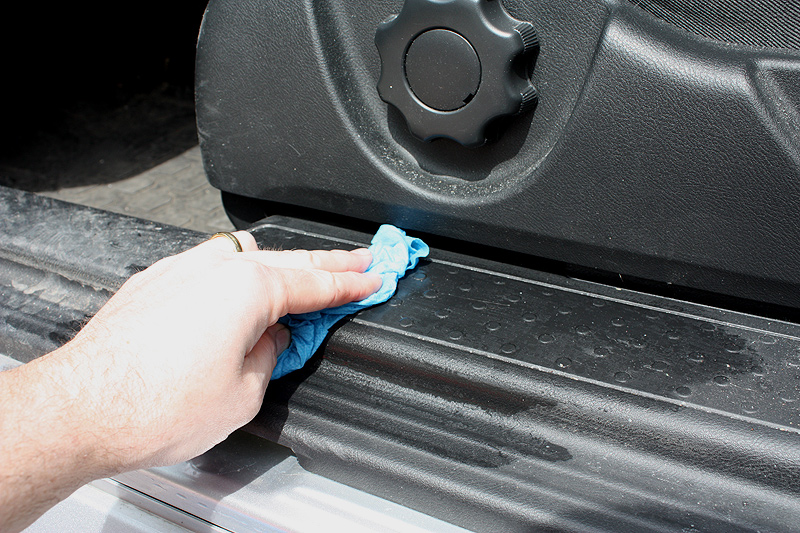
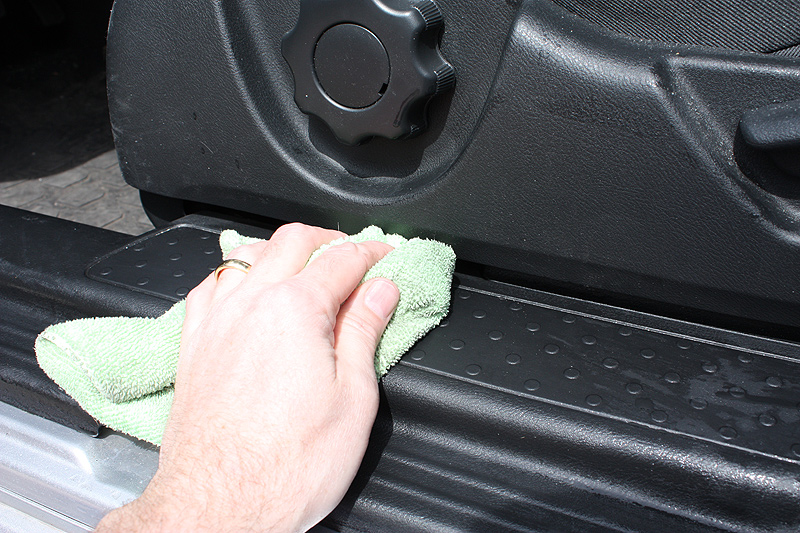
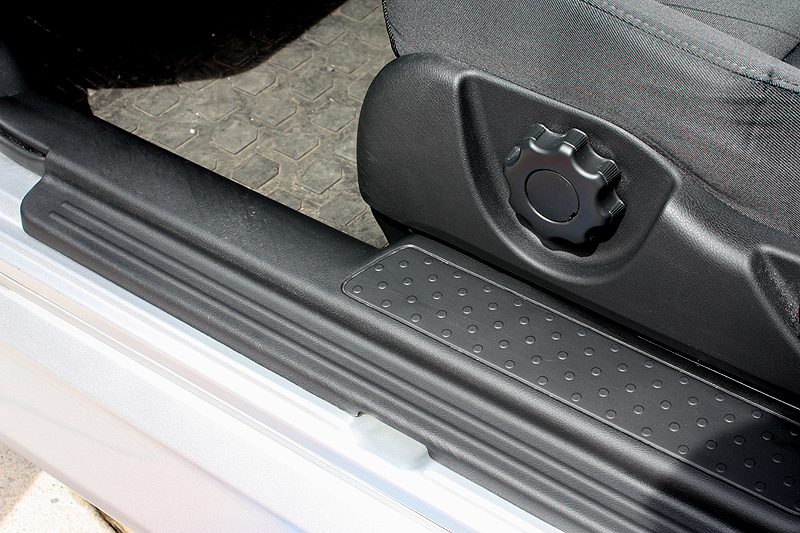
There are hundreds of products available to clean the plastics and other hard surfaces inside your car, but once again, very often the simplest solution will do. As with the wheels and the engine, shop towels (again with distilled or filtered water this time) and a microfibre cloth should be all you need. Work on one small section at a time, using the damp towels to get into all the nooks and crannies, and finish it off with the drying cloth. Be careful not to use too much pressure when using the shop towels - any grit or gravel should be wiped off the surface, not rubbed into it - most soft plastics will scratch easily if you do it wrong. As with the wheels, if you do this fairly regularly - once every couple of months - you ought never to need any plastic restoration chemicals or products. A little time and patience will yield nice results with nothing more than water. The photos below show the side of the drivers seat and the plastic door sill insert.
Inside fabrics and soft coverings
Depending on what your seats and floor coverings are, anything from damp cloths to vacuum cleaners and toothbrushes can be used here. A vacuum cleaner with a thin nozzle attachment is handy for getting stuff out of the crease between the seat bases and seat backs, and a toothbrush is useful for working crud out of the carpets so it can be vacuumed up. If you have a leather interior, it's probably worth investing in a decent leather conditioner and applying it once a year, especially if you live in a hot climate.
Result
So here's the end result of this exercise. The whole project took me about three hours including the photography, and this isn't a small car. I always think the results are worth the effort and it's nice to have a car back in the condition it was when I first bought it. A decent polish or wax on the bodywork will last 6 months or so, so this level of cleaning is a twice-yearly event for me. In between times I'll use a quick sponge down with a hose and a water blade to dry it off. Simple.